Showing posts with label Classwork. Show all posts

Saturday, 14 January 2012

Body Painting - Intorduction

- Body Painting goes back to tribal traditions and it still widely used today as a form of art, advertising and in competition (world body painting competition)

- It can be done with the bodies natural shapes.

- It can be done with water based paints = aqua colour or oil based paints = super colour.

Carolyn Cowan does body painting tutorials on YouTube that we focused on during the lesson. First we practiced making strong, clean lines with aqua colours .

1


I did this with a large brush and used lots of paint to build up an opaque colour . I tried to make the lines as straight and neat as possible.

Next we practiced blending the colour together using different methods. We dragged one colour to the next going in the same direction, we dragged the two colours downwards to soften them into eachother and we used a sponge to stipple the two colours together


My favourite method for blending was dragging the two colours together downwards along the line as I think this gave the most even blend and was the neatest. The others became a little muddy and messy. Dragging it down gave a good blend without going to far into the other colours.

The next thing we did was practise body painting with oil-based paints. We made four squares of colour with strong neat lines again.

2


We also practiced blending oil paints from white to black with an even gradient.


Another technique we practiced was layering oil paints on top of water and vice versa. The two can be layered if the underneath colurs are set ( water dried and oil based paint set with powder)


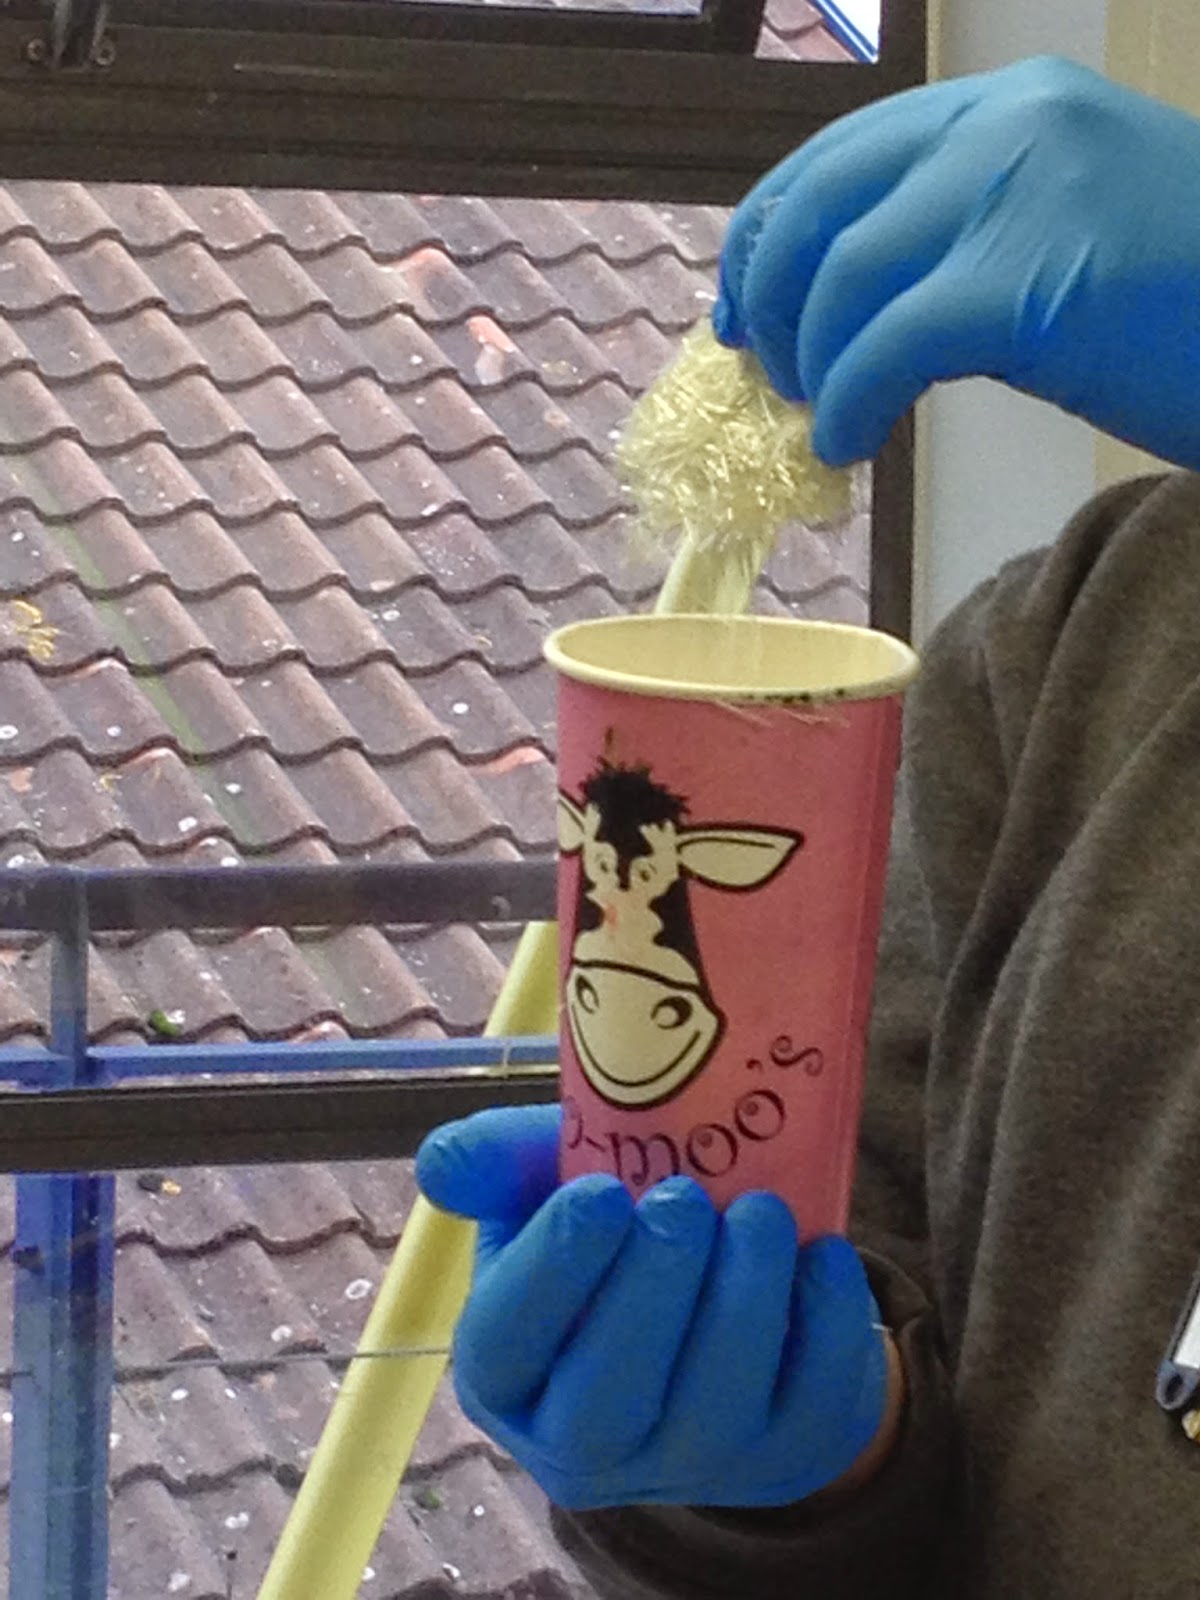
Next we looked at mixing paints with fullers earth to create textures in the body paint.

3

You can mix body paint, fullers earth and flour to create a smoother texture that cracks less or just fullers earth to get the cracked effect. We also looked at drawing patters in the paint when it's wet so they are fully in the paint when dry.


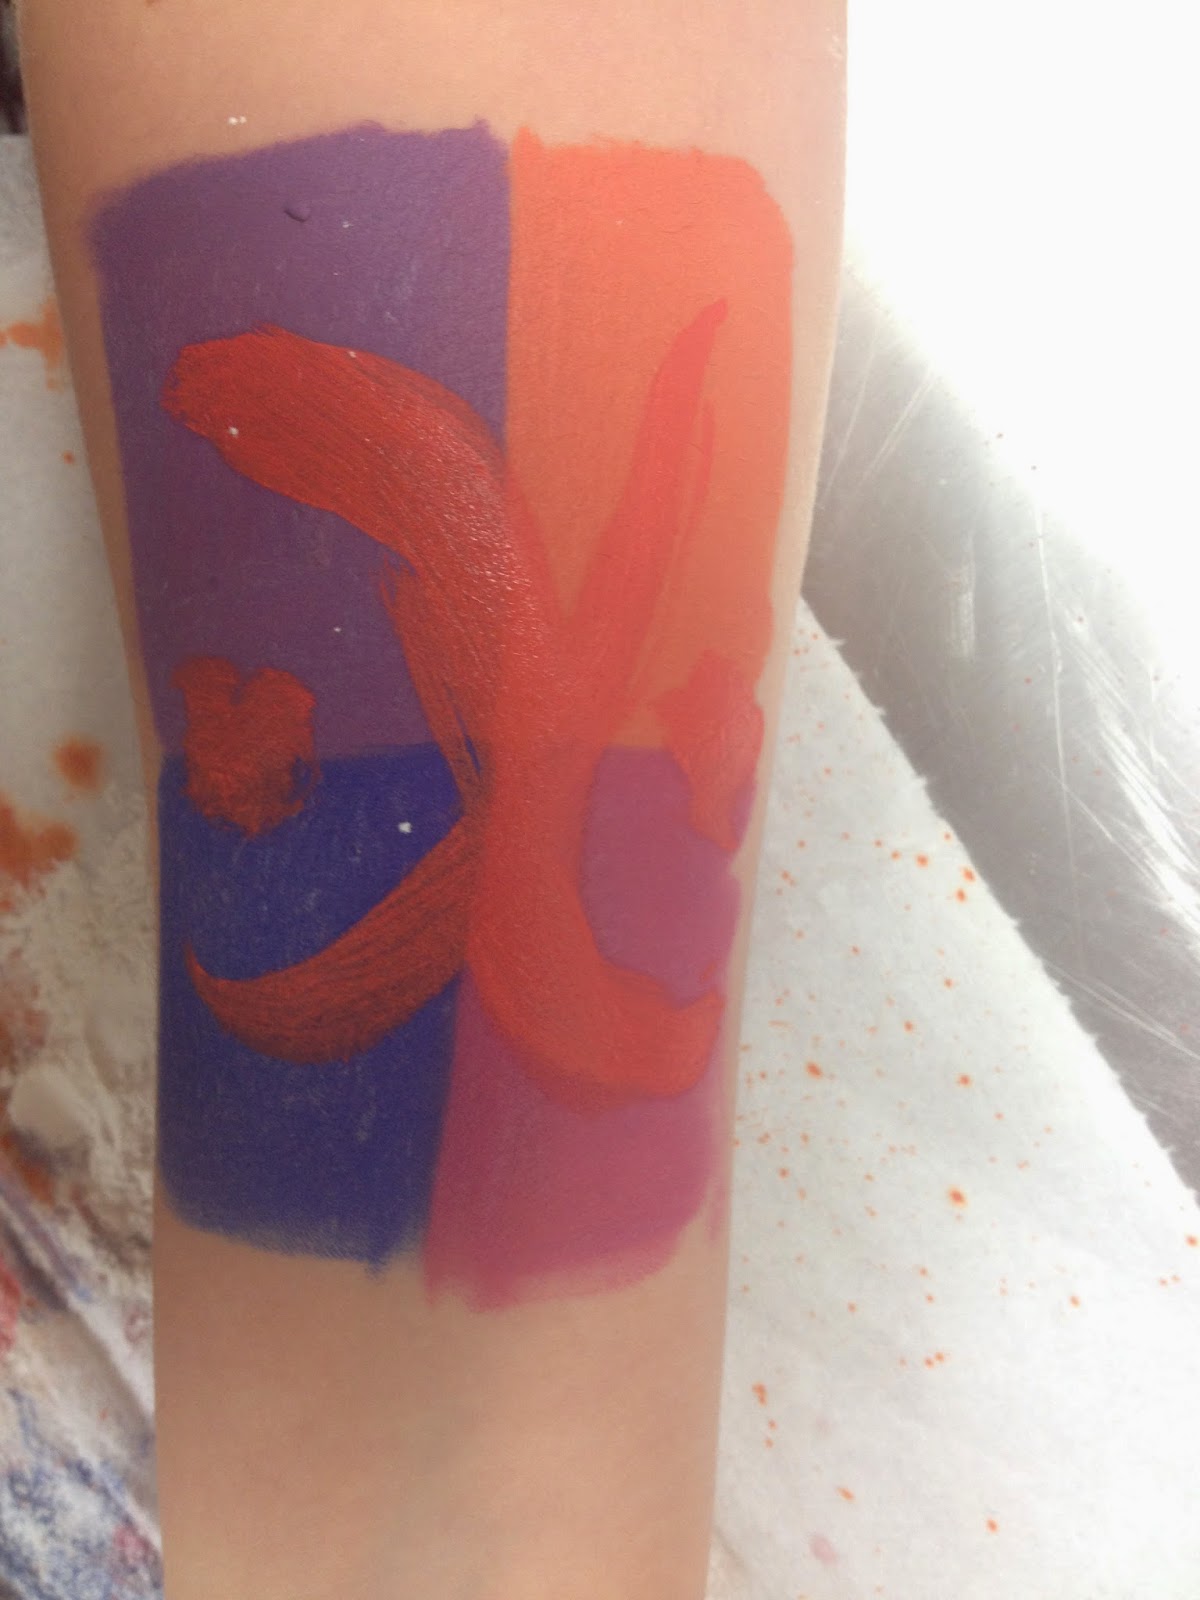
This is all the different textures that I experimented with using body paint and fullers earth.


This blue section is fullers earth and flour with blue painted on top and glitter sprinkled.


This section is an underpaint of orange body paint with fullers earth and flour on top. I then drew patters in the mixture which showed the orange colour underneath.


This section is just fullers earth straight on the skin with glitter sprinkled on top which stuck to it whilst wet. Unfortunately it took too long to dry so I didn't get a picture of it with all the fullers earth completely set.

 Evaluation

Overall I am happy with the experimentation I did for body painting. I had never done it before so I wanted to practice many techniques. I liked the straight lines I did for the water and oil based paints as I think they were very neat and looked good from afar. I was also pleased with the blend from white to black as although it was difficult to get it not to smudge and to get the full gradient of greys. Next time I would like the white to be more prominent and for the black to not smudge so far into it. The other experimentation with fullers earth and paints did not look so good but I got to practice a lot of techniques. I liked the drawing patters in the fullers earth and flour mixture and the painting over of the materials to make the colour pop more.

Monday, 26 January 2009

Processing Silicone Prosthetics (using fiberglass) Part 1

 - Fiberglass is a strong lightweight material and is used for many products.

 - It is not as strong and stiff as carbon fiber but it's less brittle.

Health and Safety:

- Will irritate eyes, skin and respiratory system
- Potential dysphea, sore throat, hoarseness and coughing
- Safe to manufacture but have to wear protective clothing
- Mouth protection needs to filter against organic vapor (respirator)
- Hand protection (vinyl or nitrite gloves)
- Eye protection (any sort of goggles)
- Protective Clothing (baggy clothes so that it's away from skin if spills or overalls)

Materials:

- glass matting
- gel coat resin
- lay-up resin
- fine surface tissue
- catalyst (benzoyl peroxide)

Gel Coat = smooth, hard polyester surface coating of fiberglass stucture

Lay-up Resin = Synthetic Resin that undergoes polymerization during curing. Excellent adhesive, high strength, good chemical resistance.

Catalyst = methyl, ethyl, ketone peroxide

Glossary of terms:

- Core = thing sculpting onto (positive portion of a multipiece mold)
- Mould = the thing on top of the sculpt
- Cast = thing that comes out
- Flashing = excess material
- Touchdown = mould touching core
- Key = indentation to help alignment of mould
- Cutting edge = part of the mold that touches and glues thin edge
- Undercut = sculpting that creates a locking state between mould and core

Fiberglass:

- Gel coat is the first layer that goes on
- Laminating resin is a lot thinner and runnier than gel
- Chippings = little bits of fiberglass

- Vale = thin and papery fiberglass

- Catalyst is generally 2% of total volume (but can be different depending on atmosphere conditions) same for gel coat and laminating resin.


- Put mold release over plastic areas of core

- Talc the surface of the sculpt (prevents resin from building up)

- Add 2% of catalyst to gel coat layer (should change colour)

- With chip brush put an even layer of gel coat over entire sculpt and flashing and down onto core.


- Let almost cure (firm but tacky) usually takes 20-30 minutes (depends on room temperature

- Put 2% of catalyst in laminating resin

- Mix some resin with chipping and fill any deep holes that will be hard to fiberglass ( tight corners, flashing etc.)

- Wet up fiberglass chunks with resin.


- Lay over the sculpt, overlapping the pieces


- Use resin on the brush to put on top of fiberglass (knocking out airbubbles)

- Do 2 layers of fiberglass and a third round the edge for strength to pull apart.


- Lay the veil over the top and press down with resin


- Leave for a few hours to set and harden (preferably overnight)

Tuesday, 29 January 2008

Foam Latex (Part 1)


- In 100g of foam latex you've got 68g of latex - you need this and upwards to be good


- a 300g batch is essentially 300g plus all the other components

- the foaming agent is essentially soap


- You need 20% foaming agent to latex (eg. 100g latex = 20g foaming agent)

- The curing agent contains sulfur which gives the foam it's memory and sponginess


- Need 10% of curing agent to latex (eg. 100g latex = 10g curing agent)

- The gelling agent makes the foam set (so it get's put in at the end). There is no set percentage - depends on the temperature, humidity of area. Usually around 10% but in England more like 14%. In winter use more gel


- Once the foam is set it can be put in the oven on a different day - process doesn't need to happen all at once.

- First step is putting in mold release as otherwise piece won't come out. Only need mold release with porous materials (plaster) not non-porous materials (fiberglass)

- Advisable to write down every thing about environment each time make roam latex (amounts, temperature etc.) to know how to keep improving.

- You can add pigments to latex mix to pre-colour it but latex is opaque so can't work in colour layers like you can with silicone

- Can use acylic paint as a pigment, food colouring etc. Avoid colouring with copper in. Oil paints will ruin foam.

- To paint on top of latex you need pax paint ( oil paint, pros-aide), greasepaint or airbrush.

- Foam is extremely light compared to silicone.

- You can reinforce foam for a suit with netting/fabric (lycra, tight material) because foam grabs onto material well. You can then glue these materials onto core then put the latex on top.

- Oven needs to be hot before beginning

- Need bleeding holes in the mold so air can escape when material is being injected and you don't get air bubbles or trapped moisture. It also gives a visual reference to know how filled the mold is.

- 85/90 degree ovem for the foam

To run a foam mix:

- Put lines/markers on the mold so you know which way to fit it together

- Need a mixer, a timer and a thermometer

- Add mold release inside and outside mold

- 200g latex = 40g foaming agent

- Add this straight into the mix

- 20g curing agent

- Add into mix

- Full spin for 2-3 mins till 2-3x original size

- Slower speed to refine it for 8 mins

- Add 28g of gelling agent and whisk for another 30 seconds


- Paint thin layer into negative to catch all the detail

- Pour rest of mixture in and press two halves together

- For injection fill syringe with mixture and push into mold, waiting until overflow comes out. Plug the overflow holes.


- Can also be painted into flat plate molds.

- Can take 10 mins to 1/2 hour to set.

- Put into oven.

Flat Mold Piece 
Closed mold piece

Injection filled piece


Tuesday, 31 January 2006

Editorial Makeup and Hair

We had a day practicing editorial hair and makeup with makeup artist Jenny Dayton. First we practiced henna/mendi inspired patters that were going to be incorporated into our makeups in some way. 


Our brief was a makeup/hair for a magazine such as ID so it needed to be artistic but still selling the clothes/accessories it was accompanying. I wanted my henna design to be going across the back and extend up into the face. First I practiced the design across the entire back but I thought this was too distracting and not intricate enough so reduced the design down to go in a diagonal line across the back, extending up into the eyebrow. Because the back was the main feature I wanted to keep the makeup relatively simple. I did a navy smokey eye, heavy contouring and a dark pink lip. To tie the two makeups together I added accents of the lipstick into the mendi design. Again because the back was the main focus I wanted the hair to be up. I did a scraped back bun so the look had a chic element to it but I crimped, curled and backcombed the bun so it was large and much more messy. I also added a feature plait around the base of the bun.


final image edited in photoshop
Overall I was pleased with my final makeup. I think it looked striking but not overpowering. I liked the slicked back part of the bun but the back needs to be slightly more pinned in and if I were to do it again I'd back the plait bigger so it could be seen better. One of my favourite parts is the lipstick accents in the mendi pattern as I believe this ties the whole look together and makes it look more cohesive.

Friday, 31 January 2003

Equality In Performance

Gender, Race, Age

- In the 19th and early 12th century it was acceptable to put on black makeup to sing, dance and perform in music halls. These performers were known as minstrels.

 - Vesta Tilley would dress and act as a man to enable her to perform her comedy and singing act in the Edwardian era.

 - All performers on the stage in this time were white and British - travel was very expensive in this time so people wouldn't normally travel to other countries to perform.

 - In the USA racial segregation as enforced. Jazz clubs used black artists to perform but they were not allowed to used the same entrance or facilities as their white colleges.

 - The Stanford White Murder was caused by an early actress in the silent film ( a fight between two jealous men) it confirmed the idea that an actress wasn't the sort of job a girl should do. The roles women did have in films strongly enforced the gender roles.

 - The Golden Age of Hollywood was between 1930-1960. during this period there were very few roles for black actors, other than playing servants. Women were mostly wives and girlfriends playing very vulnerable roles and were rarely the lead in the films. Characters with physical activities were usually played by able bodied actors.

 - Loretta Young won best actress in 1948 for her role in a rom-com where she played a servant that became a figure in politics. However the films comedy came not from the dialogue but from the fact a servant girl was attempting to get into politics.

 - Soon the television became a popular feature in many British people's homes. In 1960 Nan Winton tried out as a newsreader but was soon axed.  She later complained about her treatment and said there was obvious discrimination.

- The USA didn't have its first female newsreader until 1976

 - In the 1960s and 70s most programmes used sexist and racist humor as normal. eg. mother in law jokes, Irish jokes etc.

 - There has also been discrimination in the fashion and editorial sphere.

 - A lot of major fashion houses didn't or didn't have many black/non-Caucasian models on the runway for a long time and this can still be a problem in the present day.

 - Niomi Campbell was the first black model to appear on the cover of British Vouge - this wasn't until 1987

 - The size 0 debate still looms in the present day as the size isn't a representation of real women's sizes - are women discriminated against in society because of the very skinny models.

 - There aren't many portrayals of larger women in films unless they are in lesser, comedy roles.

 - Even in commercials there are very few companies that use black models, Even less use Asian models and there are non with disabilities.

 - Products that help with a problem are usually not advertised with people who suffer from that problem

 - In Hollywood today women have a lot more roles and often have the lead part in a film. People of different ethnic origins now appear more regularly.

 - However, men can play a romantic lead in a film until their quite old, women however do not have the same opportunity and there seems to be a shelf life on women's acting career in main roles. The roles that are available for older women are often played by a small handful of women.

 - Characters with disabilities are now more often played by actors with disabilities

 - Still too often the villain in a film is black and the hero is white, women are housewives or secretaries, men are CEO's or bosses, homeless people are criminals, gay men are camp and effeminate.


Saturday, 9 February 2002

Processing Silicone Prosthetics (using fiberglass) Part 2

Once the fibreglassing had set overnight it needed to be separated. Once this was done holes then needed to be drilled in so the mold and core could lock together to processes prosthetics. We used 6mm screws.


Next we used a vibrasaw to take off the overhanging edges of the fiberglass so the edge was where the bleeding edges were and it was more manageable and near. We then filed this down further with sandpaper to make sure it was smooth.


I was happy with how all these processes went however it was at this moment I realised that my original fibreglassing was too thin. This meant be mold wasn't really strong enough and a lot m ore delicate than it should be. It still worked as a mold but next time I need to do another layer of fibreglass to make sure my mold is stronger and more durable.

Next I put three layers of cap plastic into the mold as the base of the silicone prosthetic. I then made a 25% softened mixture of silicone (60g A + 60g B + 30g C) as a forehead is relatively hard but still has the normal softness of skin and poured this into my mold. I then screwed the two halves of the mold together and bolted it shut tightly to wait whilst it cured. Once opened I painted two more layers of cap plastic over the back.


Next time I will use a little more silicone as one area of the flashing didn't get filled properly and barely any silicone got squeezed out whilst the molds were shutting but apart from this I was very happy with how the piece had turned out.


One mistake I had made during this process has not using a mold release (vaseline) on the mold before adding the cap plastic. Although fibreglass isn't porous like plaster this still meant the silicone clung to it, causing a lot of my cap plastic to be left in the piece, this also meant I had a rip at the base of the piece.. Apart from this though I was very happy with how this piece turned out. The edges are neat and usable, the texture has transferred well to silicone and the piece felt the right level of softness. Next time I need to remember to vaseline the piece and I think it will work a lot better. Overall I was very happy with how the fibreglass mold worked.