Monday, 26 January 2009

Processing Silicone Prosthetics (using fiberglass) Part 1

 - Fiberglass is a strong lightweight material and is used for many products.

 - It is not as strong and stiff as carbon fiber but it's less brittle.

Health and Safety:

- Will irritate eyes, skin and respiratory system
- Potential dysphea, sore throat, hoarseness and coughing
- Safe to manufacture but have to wear protective clothing
- Mouth protection needs to filter against organic vapor (respirator)
- Hand protection (vinyl or nitrite gloves)
- Eye protection (any sort of goggles)
- Protective Clothing (baggy clothes so that it's away from skin if spills or overalls)

Materials:

- glass matting
- gel coat resin
- lay-up resin
- fine surface tissue
- catalyst (benzoyl peroxide)

Gel Coat = smooth, hard polyester surface coating of fiberglass stucture

Lay-up Resin = Synthetic Resin that undergoes polymerization during curing. Excellent adhesive, high strength, good chemical resistance.

Catalyst = methyl, ethyl, ketone peroxide

Glossary of terms:

- Core = thing sculpting onto (positive portion of a multipiece mold)
- Mould = the thing on top of the sculpt
- Cast = thing that comes out
- Flashing = excess material
- Touchdown = mould touching core
- Key = indentation to help alignment of mould
- Cutting edge = part of the mold that touches and glues thin edge
- Undercut = sculpting that creates a locking state between mould and core

Fiberglass:

- Gel coat is the first layer that goes on
- Laminating resin is a lot thinner and runnier than gel
- Chippings = little bits of fiberglass
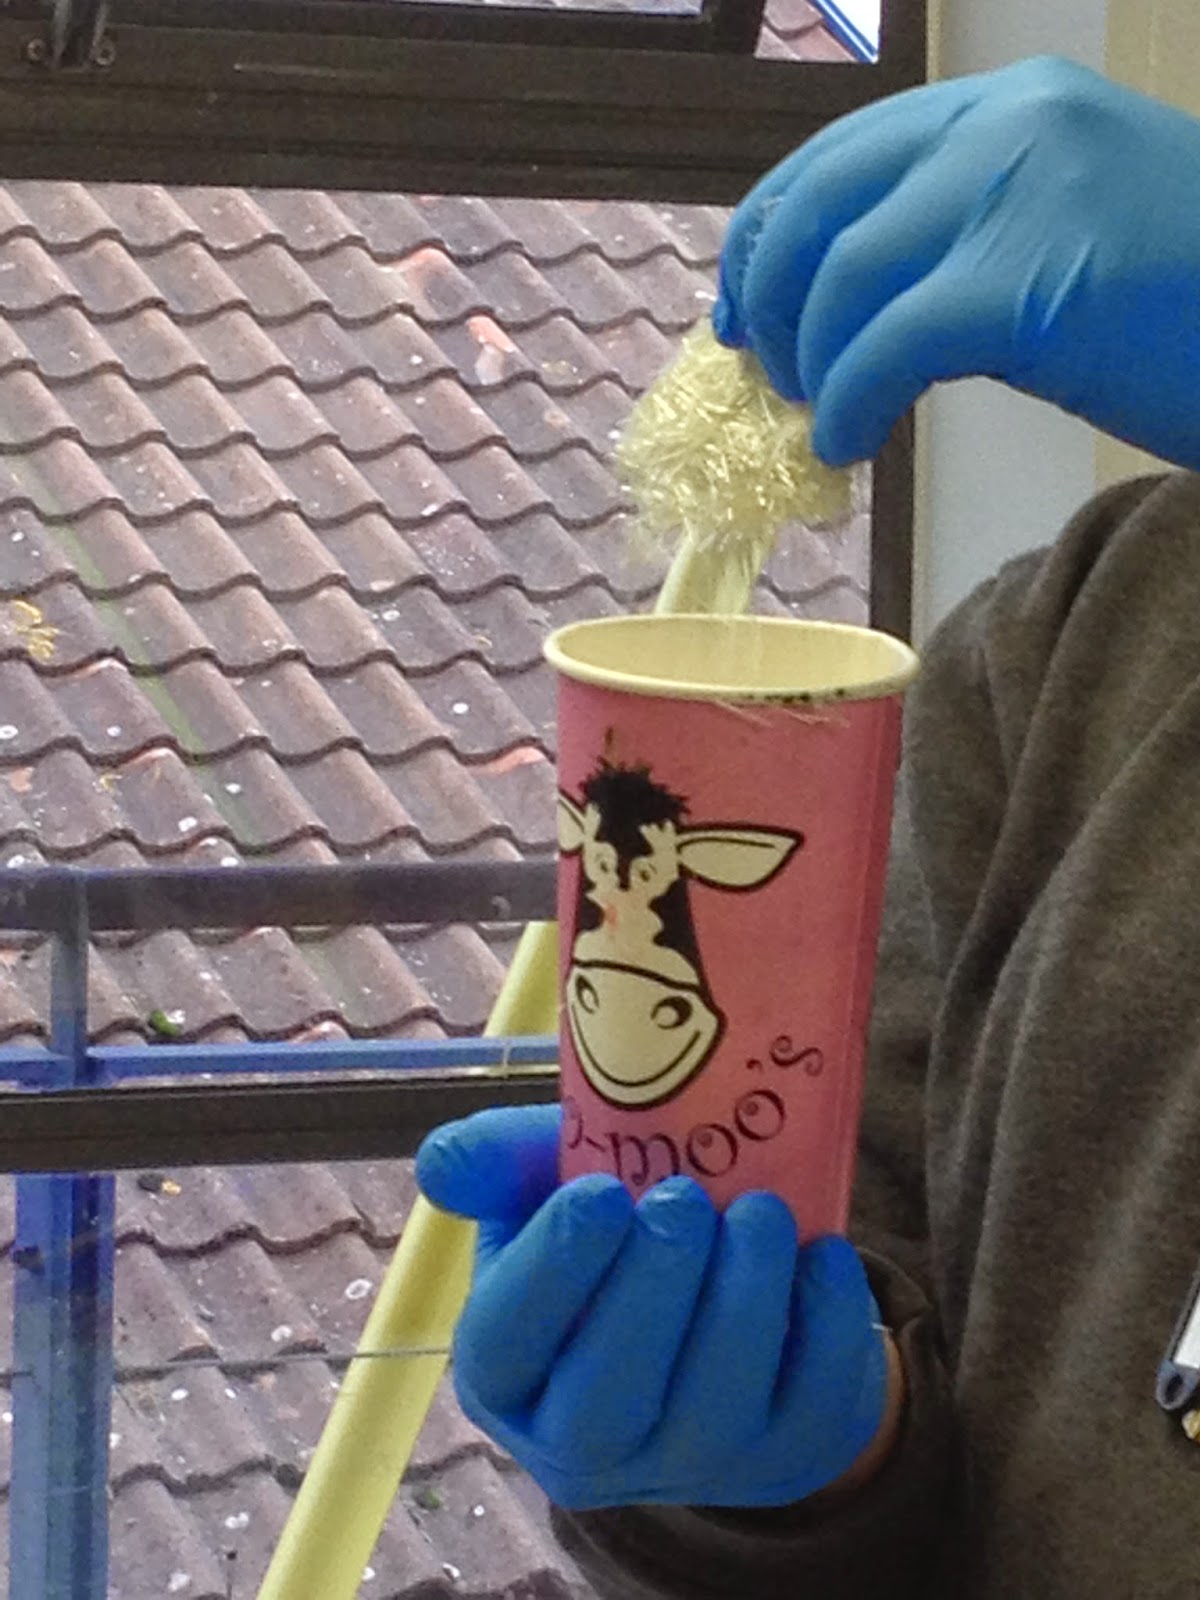
- Vale = thin and papery fiberglass

- Catalyst is generally 2% of total volume (but can be different depending on atmosphere conditions) same for gel coat and laminating resin.


- Put mold release over plastic areas of core

- Talc the surface of the sculpt (prevents resin from building up)

- Add 2% of catalyst to gel coat layer (should change colour)

- With chip brush put an even layer of gel coat over entire sculpt and flashing and down onto core.


- Let almost cure (firm but tacky) usually takes 20-30 minutes (depends on room temperature

- Put 2% of catalyst in laminating resin

- Mix some resin with chipping and fill any deep holes that will be hard to fiberglass ( tight corners, flashing etc.)

- Wet up fiberglass chunks with resin.


- Lay over the sculpt, overlapping the pieces


- Use resin on the brush to put on top of fiberglass (knocking out airbubbles)

- Do 2 layers of fiberglass and a third round the edge for strength to pull apart.


- Lay the veil over the top and press down with resin


- Leave for a few hours to set and harden (preferably overnight)

Tuesday, 29 January 2008

Foam Latex (Part 1)


- In 100g of foam latex you've got 68g of latex - you need this and upwards to be good


- a 300g batch is essentially 300g plus all the other components

- the foaming agent is essentially soap


- You need 20% foaming agent to latex (eg. 100g latex = 20g foaming agent)

- The curing agent contains sulfur which gives the foam it's memory and sponginess


- Need 10% of curing agent to latex (eg. 100g latex = 10g curing agent)

- The gelling agent makes the foam set (so it get's put in at the end). There is no set percentage - depends on the temperature, humidity of area. Usually around 10% but in England more like 14%. In winter use more gel


- Once the foam is set it can be put in the oven on a different day - process doesn't need to happen all at once.

- First step is putting in mold release as otherwise piece won't come out. Only need mold release with porous materials (plaster) not non-porous materials (fiberglass)

- Advisable to write down every thing about environment each time make roam latex (amounts, temperature etc.) to know how to keep improving.

- You can add pigments to latex mix to pre-colour it but latex is opaque so can't work in colour layers like you can with silicone

- Can use acylic paint as a pigment, food colouring etc. Avoid colouring with copper in. Oil paints will ruin foam.

- To paint on top of latex you need pax paint ( oil paint, pros-aide), greasepaint or airbrush.

- Foam is extremely light compared to silicone.

- You can reinforce foam for a suit with netting/fabric (lycra, tight material) because foam grabs onto material well. You can then glue these materials onto core then put the latex on top.

- Oven needs to be hot before beginning

- Need bleeding holes in the mold so air can escape when material is being injected and you don't get air bubbles or trapped moisture. It also gives a visual reference to know how filled the mold is.

- 85/90 degree ovem for the foam

To run a foam mix:

- Put lines/markers on the mold so you know which way to fit it together

- Need a mixer, a timer and a thermometer

- Add mold release inside and outside mold

- 200g latex = 40g foaming agent

- Add this straight into the mix

- 20g curing agent

- Add into mix

- Full spin for 2-3 mins till 2-3x original size

- Slower speed to refine it for 8 mins

- Add 28g of gelling agent and whisk for another 30 seconds


- Paint thin layer into negative to catch all the detail

- Pour rest of mixture in and press two halves together

- For injection fill syringe with mixture and push into mold, waiting until overflow comes out. Plug the overflow holes.


- Can also be painted into flat plate molds.

- Can take 10 mins to 1/2 hour to set.

- Put into oven.

Flat Mold Piece 
Closed mold piece

Injection filled piece


Wednesday, 31 January 2007

Body Painting - Research

'The art of body painting covers a vast area of painted effects ... from a simple tattoo on the arm to the reproduction of a famous painting across an entire body or painting a model to look fully clothed' (Delemar 1995, pg. 77)

 - Delemar states that because the body painting process is very time consuming, it is essential to plan the designs on paper first then to experiment of a mannequin or model before the actual shoot.

 - The materials are special watercolours for the skin and a variety of sponges, brushes or any type of tool (including airbrushing) Stencils can be used to make repeat patterns, masking tape is good for a clean edge, natural or stipple sponges for stippling textures, feathers for marbling effects.

 - For painting clothes on the body i is best to use sable artists brushes, brushes and airburshing techniques

 - These are examples from the Delemar academy

6

7

8

9

One of the most famous body painters is Joanne Gair, 'Gair allows us to see the human body as a canvas to be transformed' (Gair EDDDIT)

 - As a girl she was fascinated by the Maori culture and the way their tribal heritage was identified by skin adornment.

 - She started orking as a makeup-artists and body painter in the 1980s, her self taught body painting skill making her portfolio stand out.

 - She became famous in 1992 when working with Annie Leibovitz and Demi Moore for Vanity Fair

 - In 1998 she began her long standing collaboration with Sports Illustrated for their swimsuit edition of the magazine

 - In 2003 she begun to experiment with photography as well as body painting.

10 - effect of dried mud being removed

11 - promoting cell phones

12 - clay, pigment and gold leaf 
13 - experiment recreating Victoria's Secret underwear

14 - Vanity Fair - wings drawn with ballpoint pen

15 - advertising job

16 - SOHO style magazine. Real creations ink and sharpie pens

17 - Sports Illustrated magazine

18

19

20 - recreation of Botticelli's Primavera

I think these images will help my body painting experimentation as they show examples of full artworks that have a purpose. I especially like the use of different textures and materials in Joanne Gair and I'd like to try using some different materials in my work.